
PLACE
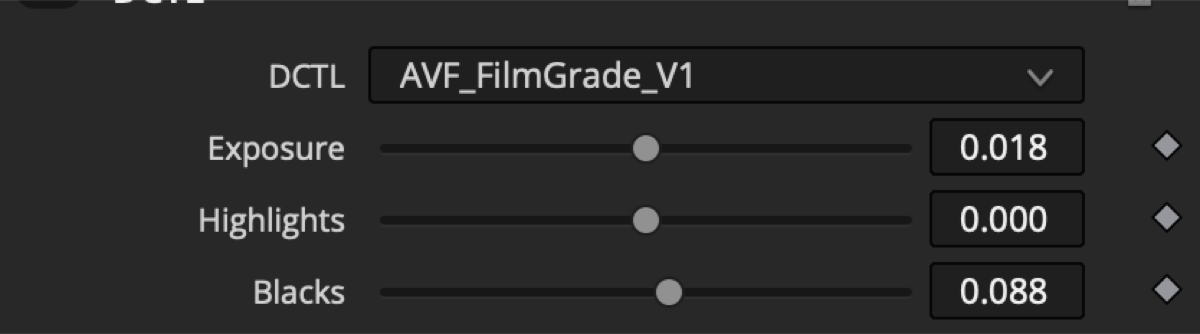
Exposure — moves the whole image.
Highlights — adjusts bright areas.
Blacks — adjusts dark areas.
Temperature — shifts the image warmer or cooler.
Contrast — adds or softens separation.
Pivot / Midtones / Hue — refine the balance and color.
AVF / FILMGRADE
DCTL
A quick path from flat footage to a film-inspired image.

THE TOOL
AVF FilmGrade-V1 gives your footage a confident cinematic direction without making grading feel complicated. Start with a clean image, choose the mood, and shape the result until it feels right.
Build deep blue shadows, warm highlights, soft film color, or your own blend — all inside one easy-to-adjust Resolve node.
Move beyond flat footage. Spend more time shaping the feeling of every scene.
FOOTAGE / 00 — ORIGINAL PREVIEW
What to notice: This wide outdoor scene lets you judge the whole image at once — sky, landscape, clothing, faces, and the feeling of the scene.
FOOTAGE / 01 — DAYLIGHT PORTRAIT
What to notice: Bright daylight, pale clothing, and skin stay balanced while the image gains a gentle cinematic contrast.
START CLEAN
Exposure moves the whole image. Highlights protect the bright areas. Blacks shape the dark areas. Temperature, contrast, pivot, midtones, and hue help you put the frame in the right place before you add the film character.
FIND THE MOOD
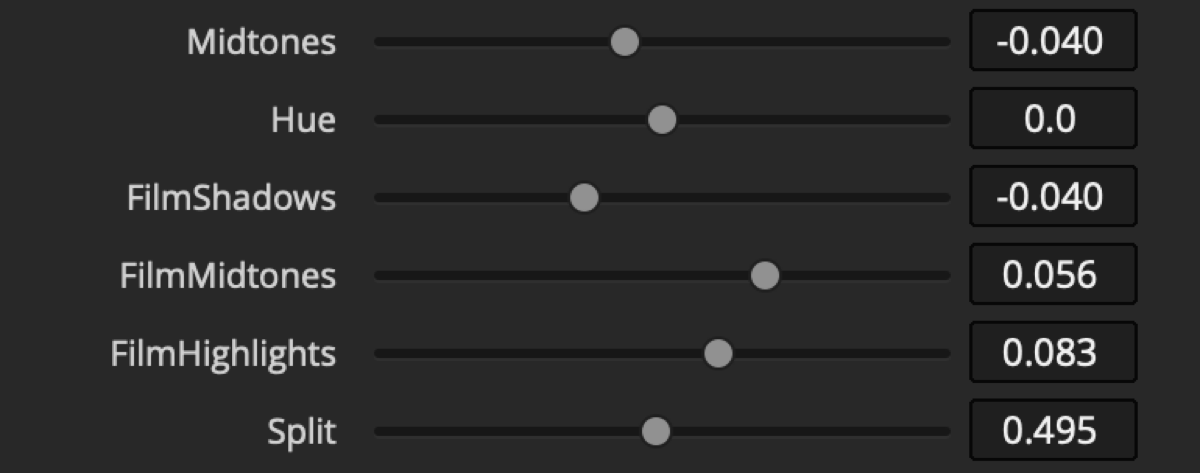
Film Shadows is the main mood control. Push it warmer for a soft, dreamy feeling, or cooler for deeper blue shadows. Film Midtones and Film Highlights let you carry that balance through the rest of the image.
Because dark tones cover so much of a frame, a small shadow change can make the whole image feel different.
Exposure — moves the whole image.
Highlights — adjusts bright areas.
Blacks — adjusts dark areas.
Temperature — shifts the image warmer or cooler.
Contrast — adds or softens separation.
Pivot / Midtones / Hue — refine the balance and color.
Film Shadows — sets the main warm, dreamy, or blue mood.
Film Midtones — shapes the middle brightness range.
Film Highlights — shapes the bright color response.
Split — controls the warm/cool relationship across the image.
Clean Whites — keeps bright areas clean and white.
Clean Blacks — keeps blacks from becoming colored or washed out.
Saturation — controls color intensity.
Skin Preservation — helps keep skin natural.
Strength — controls how much of the look you want.
MOTION
Real moving footage gives the look room to breathe — skin, skies, shadows, and highlights in the same story.
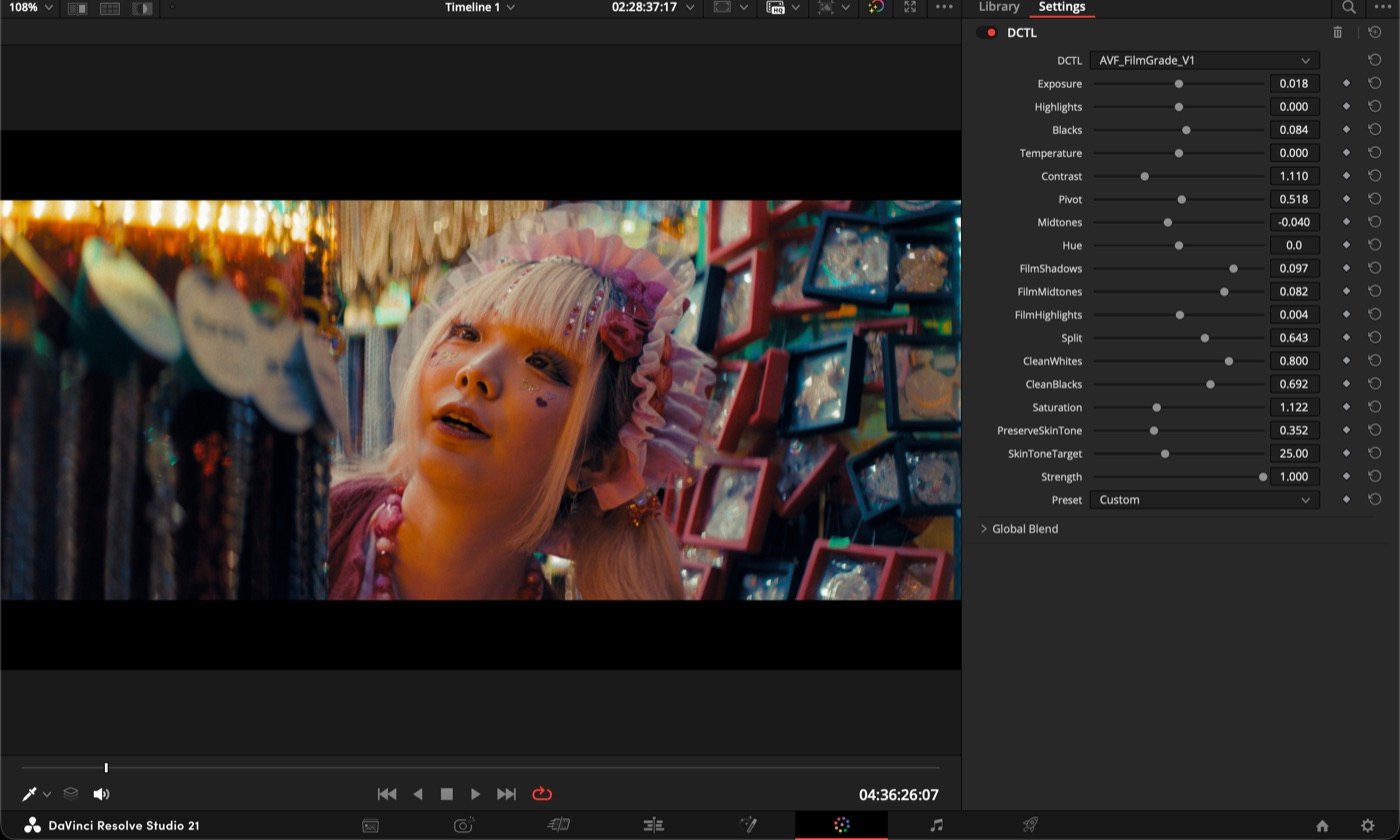
What to notice: Skin stays natural while the colorful market background keeps its rich, cinematic energy.
What to notice: Warmer or cooler shadows can change the mood of the shot while the subject remains clear and alive.
What to notice: The look keeps skin soft, greenery believable, and the outdoor shadows calm instead of harsh.
What to notice: This screen recording shows where AVF FilmGrade-V1 sits in DaVinci Resolve and how quickly the controls shape the image.
SIMPLE WORKFLOW
Place the tool after your basic balance or color preparation. Shape the mood, then add grain and finishing. Keep your final output transform at the end.
READ THE INSTALLATION GUIDE ↗INSTALLATION
01 Download and unzip your AVF FilmGrade-V1 files.
02 In Resolve Studio, open Project Settings and choose the LUT folder.
03 Copy the DCTL file into that folder, then restart Resolve.
04 Add a DCTL node and open AVF FilmGrade-V1 in the inspector.
05 Start with Strength low, then shape the mood to taste.
TRY BEFORE YOU BUY
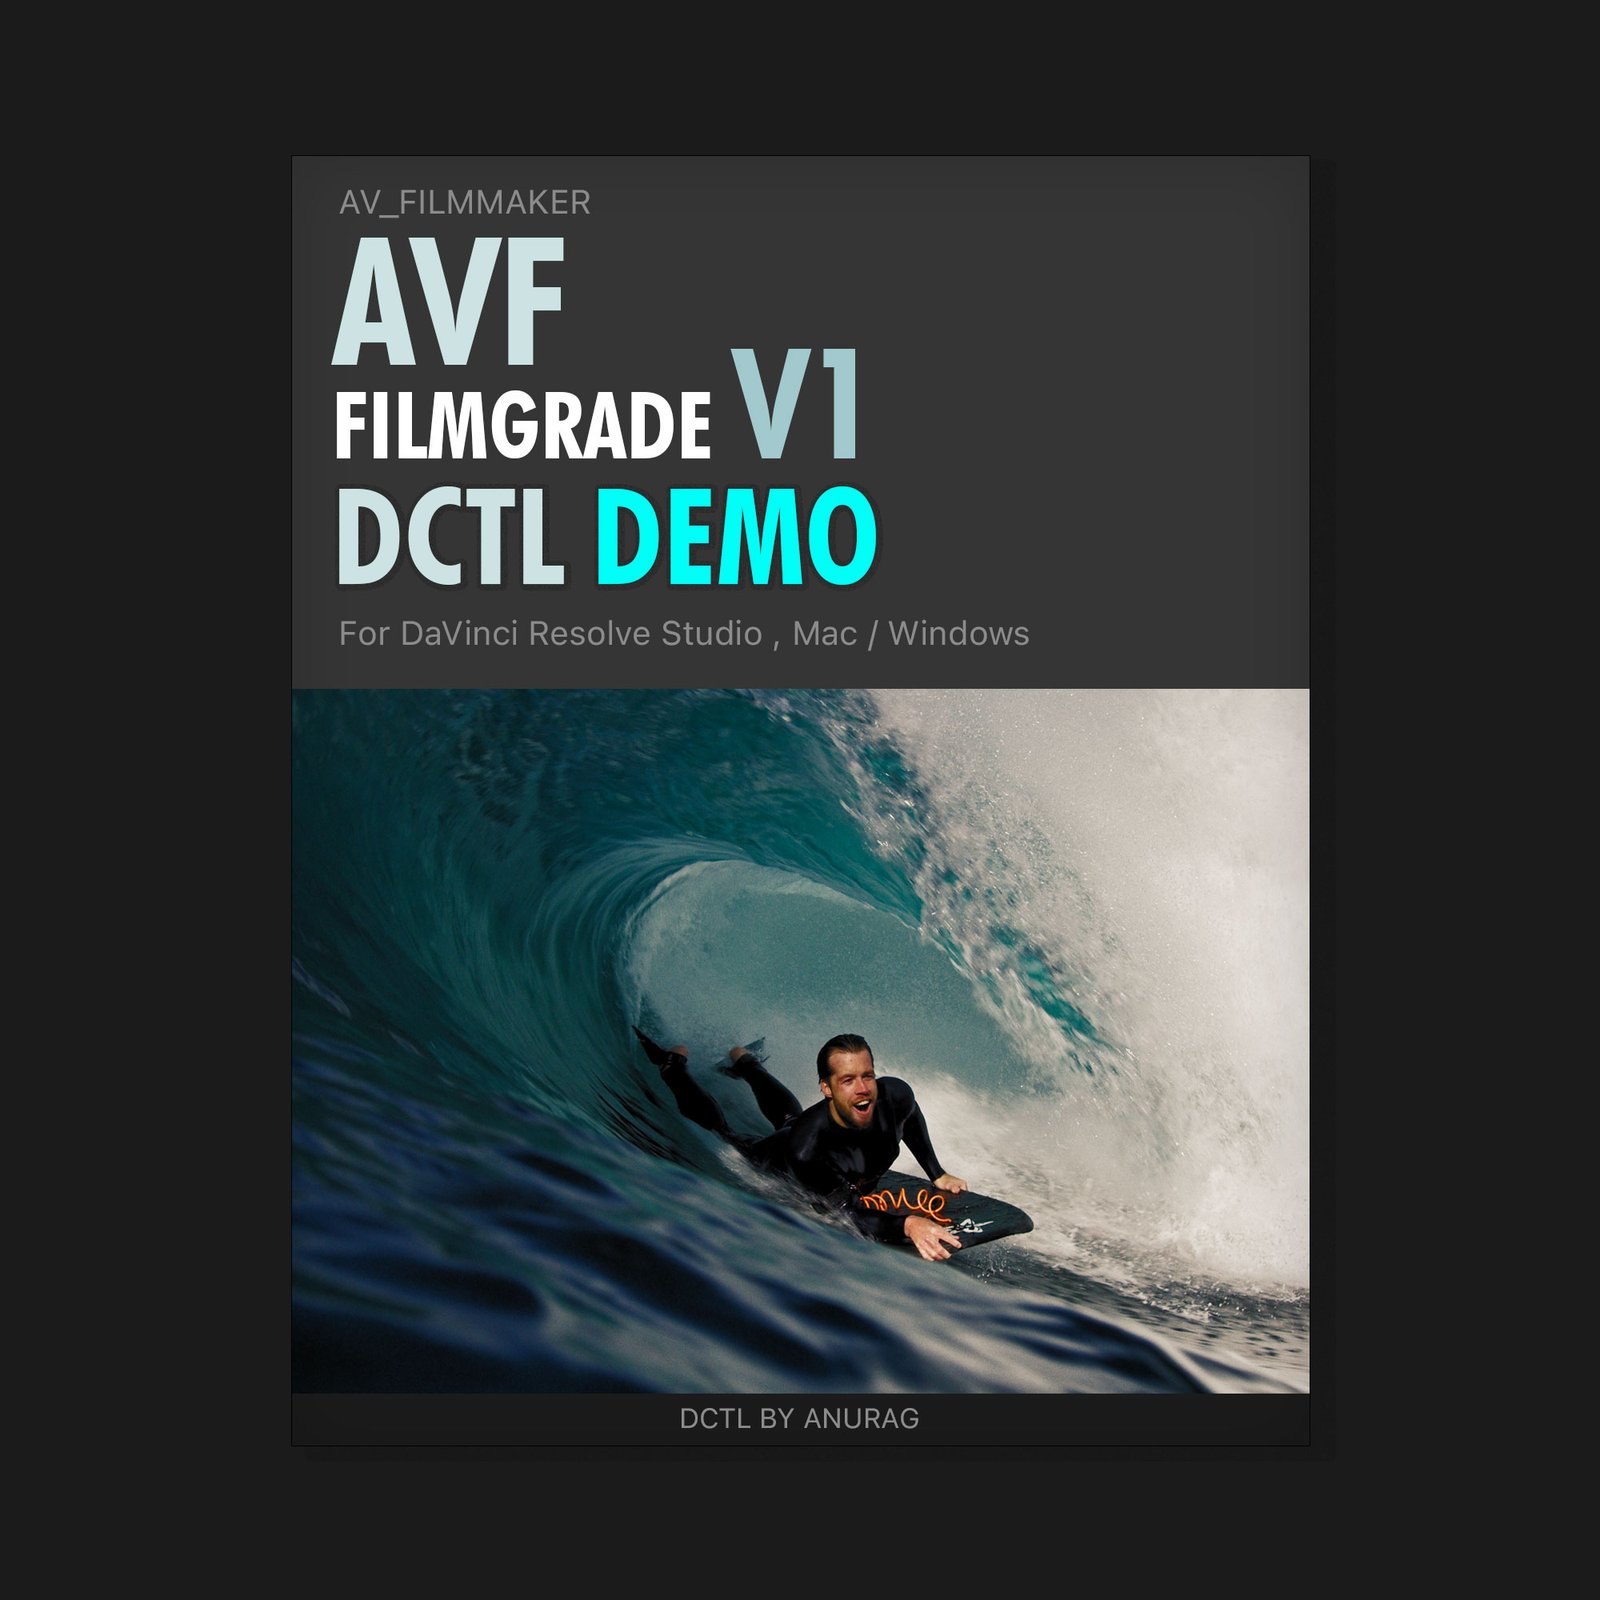
See the AVF FilmGrade-V1 look on your own footage before choosing the full version. Explore the controls, test the mood, and decide if it fits your work.
GET THE FREE DEMO ↗GET AVF FILMGRADE-V1
For travel and lifestyle creators, YouTube creators, editors, colorists, and personal brands who want a fast, flexible cinematic base for their own videos and commercial client work.
DaVinci Resolve Studio required. macOS and Windows. Digital downloads are non-refundable except where required by law.